O’s Felt Book
30::365::101-109
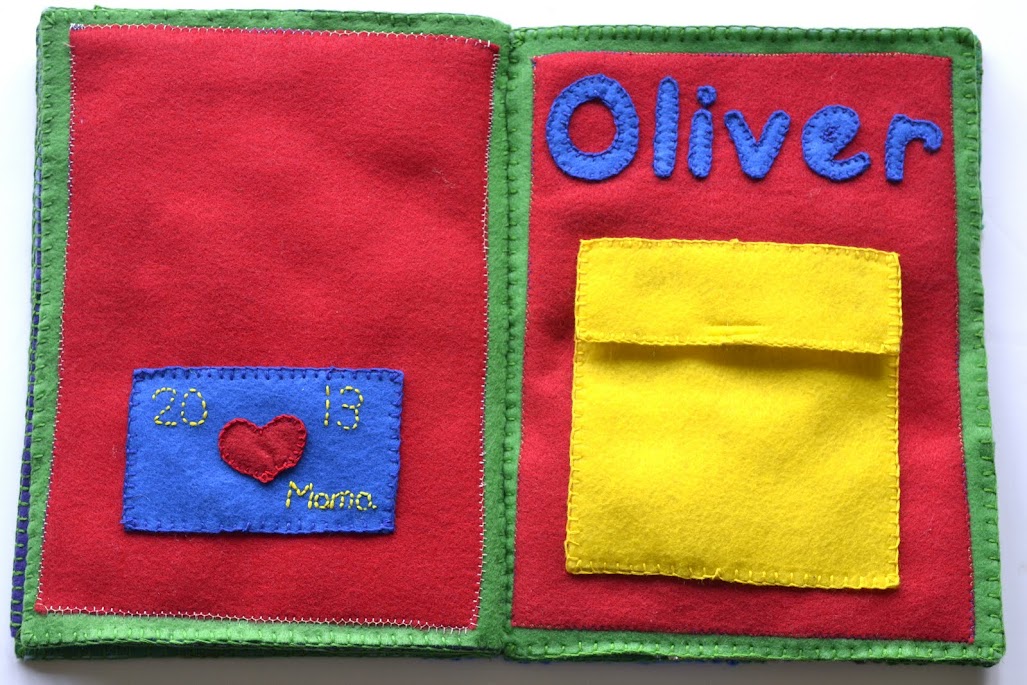
In my recent ROTH piece For the Love of Handwork, I wrote about making a felt book for O. While the journey was thoroughly enjoyable, I thought it might be nice to also take some time to share the finished product with you.  The Cover/Back Cover: My favorite part of this is his name. He can trace over it with his finger (kind of like a sandpaper letter) and it can help with recognizing his own name as well. There is also a pocket on the front under his name to store extra pieces along with a matchbox car for the road pages. The back cover has the year and, of course, love mama.
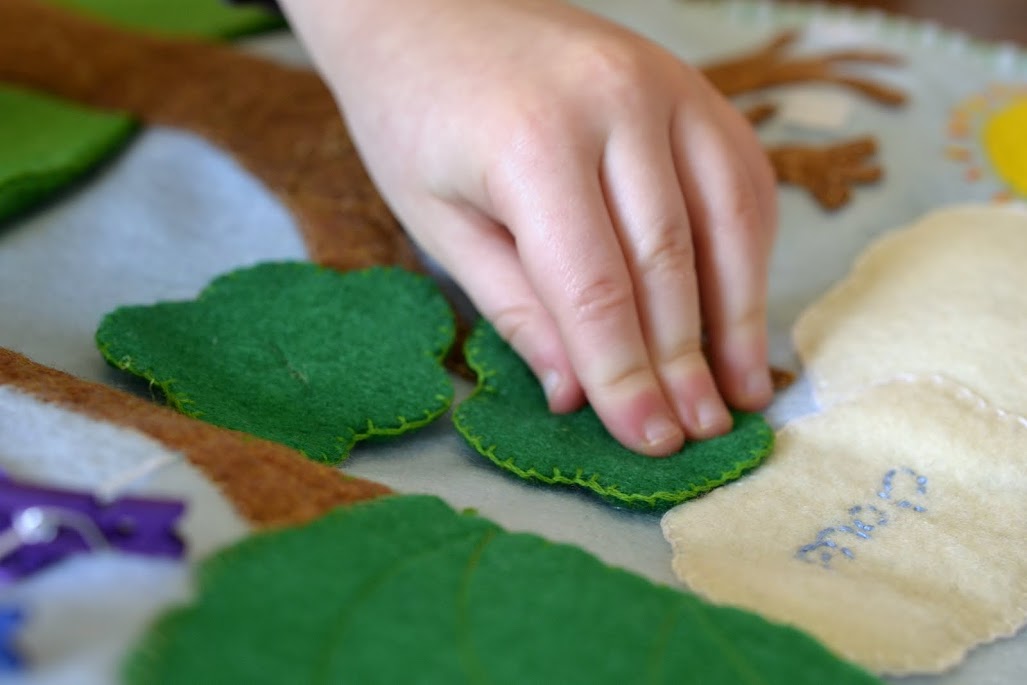
  The Seasons Page: The tree can be decorated with various pieces to match the seasons (spring flowers, summer greenery, fall leaves, bare for winter). I also embroidered some words for the different parts of the scene. The grass forms pockets for storage on either side of the tree.
The Clothesline Page: This page is for matching and color recognition. The tiny clothespins are also great for fine motor skill work. The basket is a pocket for storing the spare socks. 
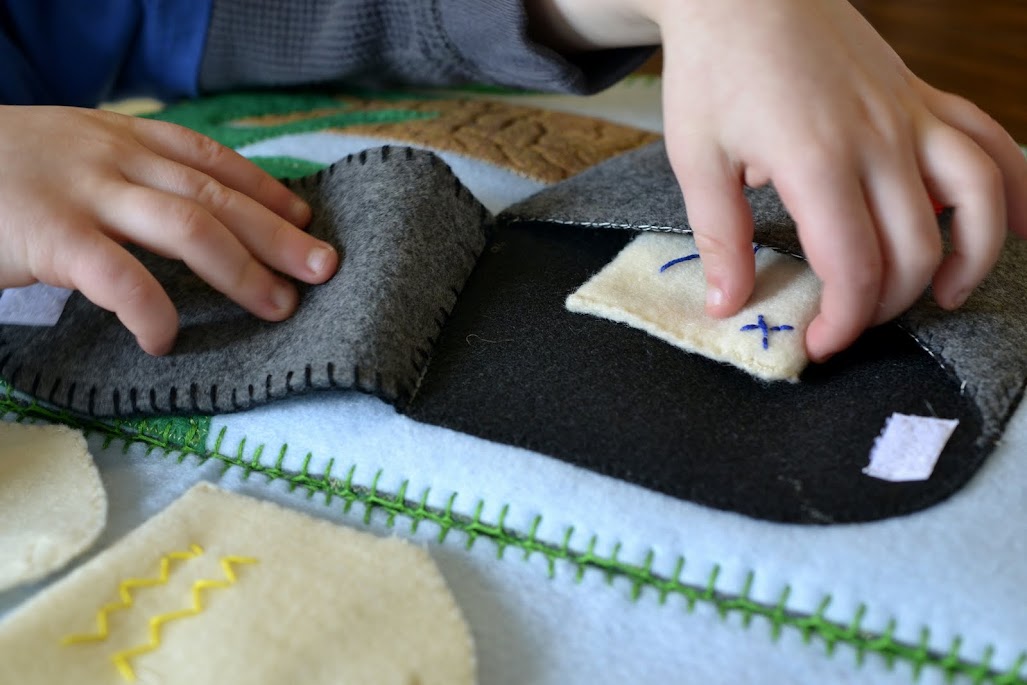
Road Pages: These pages were one of the simplest to put together but so fun! Once the template for the road was drawn, it was just a matter of cutting and sewing the grass around it. I decided a more country road would suit our lifestyle better than a city street. I loved adding the details to these pages! Not shown in the photo are a couple of orange road cones stored in the bottom left patch of green/pocket. A matchbox car for these pages stores in the front pocket of the book.  Mailbox and Letters Pages: O loves sending and receiving mail. Right now, this appears to be his favorite page. The mailbox flap opens and closes and the body itself is a pocket that he can use for his mail. The flag also moves up and down. The envelopes on the opposite page are functional and close with a tiny bit of velcro. This is set up so he can match the colors of the letters with their envelopes, though that certainly isn’t a requirement. He’s also been known to use the letters on their own as postcards.
  *Build a Robot Pages: The robot body on the right side is sewn to the page but all the arms, legs, and heads are interchangeable. O likes this page well enough but what is really funny is how much fun adults have building and experiencing various robot combinations! These pages probably took the longest time to complete, sewing all the little robot parts by hand (which I very much enjoyed).
Now for some action photos: 

 This project was truly a labor of love. It was a joy to make, but it did take some time and commitment. It was well worth it and I hope to make another for N in the future. I’ll add some notes below, but if you have any questions please leave them in the comments and I’ll try to help the best I can!
Notes:
- This book was made with a mix of both hand stitching and machine sewing. I found I prefer hand-stitching but for some pieces using the machine was more practical. There is a tutorial for blanket stitch here and for a basic back stitch here.
- If you use velcro, be sure to sew it to the back of your piece before sewing the fronts and backs together. If you look closely at my robot action picture, you can see I forgot this while making some of the appendages. I tried various glues before finally just stitching through both layers with an invisible (ha!) thread. It worked and isn’t too noticeable but I do wish I had remembered to do it correctly in the first place. I used snagless velcro because with testing, I found regular velcro to be a bit harsh for the felt.
- I used very sharp small scissors to keep the cut edges neat for stitching and most of the pieces are double-layered for durability.
- A disappearing ink marker is very useful if you need/want to trace a template.
- I stitched all my pages together and bound the book with the same color green thread. The color worked out nicely for all of my pages and I think keeping it consistent helped make the separate pages feel more like a whole, a book. I used this tutorial to bind the book. Super easy and quick.
- I did not use existing patterns for my pages. Some of the pieces, like the parts for the seasons tree, I drew on a piece of card stock to make a quick diy template. Mostly I just took the scissors to the felt and went at it.
- While I was looking for ideas and dreaming away, I kept a Pinterest board here.
- *The Build a Robot pages were heavily inspired by the blog, Imagine Our Life. Stephanie’s blog is absolutely full of brilliant ideas and how-to’s. Thank you, Stephanie!
Have you been working on anything big lately?
Happy Making!
~Carrie

oh wow mama. this is truly exquisite!!! how wonderful!!! I really want to make one for the kiddos someday. LOL
Do it! You won’t be sorry! :)
Reblogged this on .